
Here is something I found on another blog, Suzy's Artsy-Craftsy Sitcom. (Love her blog! Lots of brilliant ideas!!) She has a lot of cute quilling projects and I love how diverse (and frugal) her different projects are.
Okay, below is my attempt at the Quilled Monogram. I really liked this, but I'm tired of accumulating stuff only to have to move it in 6 months, so I decided to make it as a wedding present for some friends. Weddings are great for that. I try a new craft, and someone else reaps the rewards--as long as it works! Hopefully my friends like it. :) And yes, I even made the actual letter. From a cardboard box I had left over from moving. Here's how:
First, I cut apart the box so I had two big areas (with no folds or creases) to work with. There were a bunch of left over pieces that I used later. Then I drew my letter--in this case an "H" on one of the big areas. You could also use a template printed out from the computer. I tried that, but couldn't find one that I liked. So I ended up free handing the H using a ruler.
 |
I decided not to cut all the way through the flaps on the sides of the letter so I wouldn't have to glue so many sides down. Worked pretty well! Once the H was cut out, I traced it onto the other large piece of cardboard. I forgot to get pictures of gluing the sides together. My bad. To do it, I measured and cut 2" strips and glued them to the edge of the H that already had edges still attached. I'm not sure if that makes sense or not. Sorry if it doesn't. Try Suzy's blog if it doesn't, her tutorial is great. Once all the edges were glued on, I glued the other H to the top. Now the shape is done! |
 |
I paper-mached the edges to give the edges a smoother look. Maybe I'm really slow, but cutting and gluing and papermache-ing took me 5 episodes of Veronica Mars (love that show!). It was late so I went to bed and let it dry over night. If I had thought about it a little more, and if it hadn't been so late, I would have torn even sized strips of newspaper and would have covered the whole thing. In some places you can tell where I didn't put newspaper now that it is painted. Also, be careful around corners. Mine got bunchy and wrinkly, and the paint didn't hide the folds and creases. |
 |
I tried painting it a dark red ("Cherry Cobbler"), but the color wasn't that great (it looked like blood--ewww!) and it was going to take a lot of coats, so I decided to spray paint it black and paint the red over the top. (Their wedding colors are Burgundy, black, and white.) Painting the red over the black didn't work either so I just painted it black again. Spray painting is definitely the way to go. Much easier and quicker.  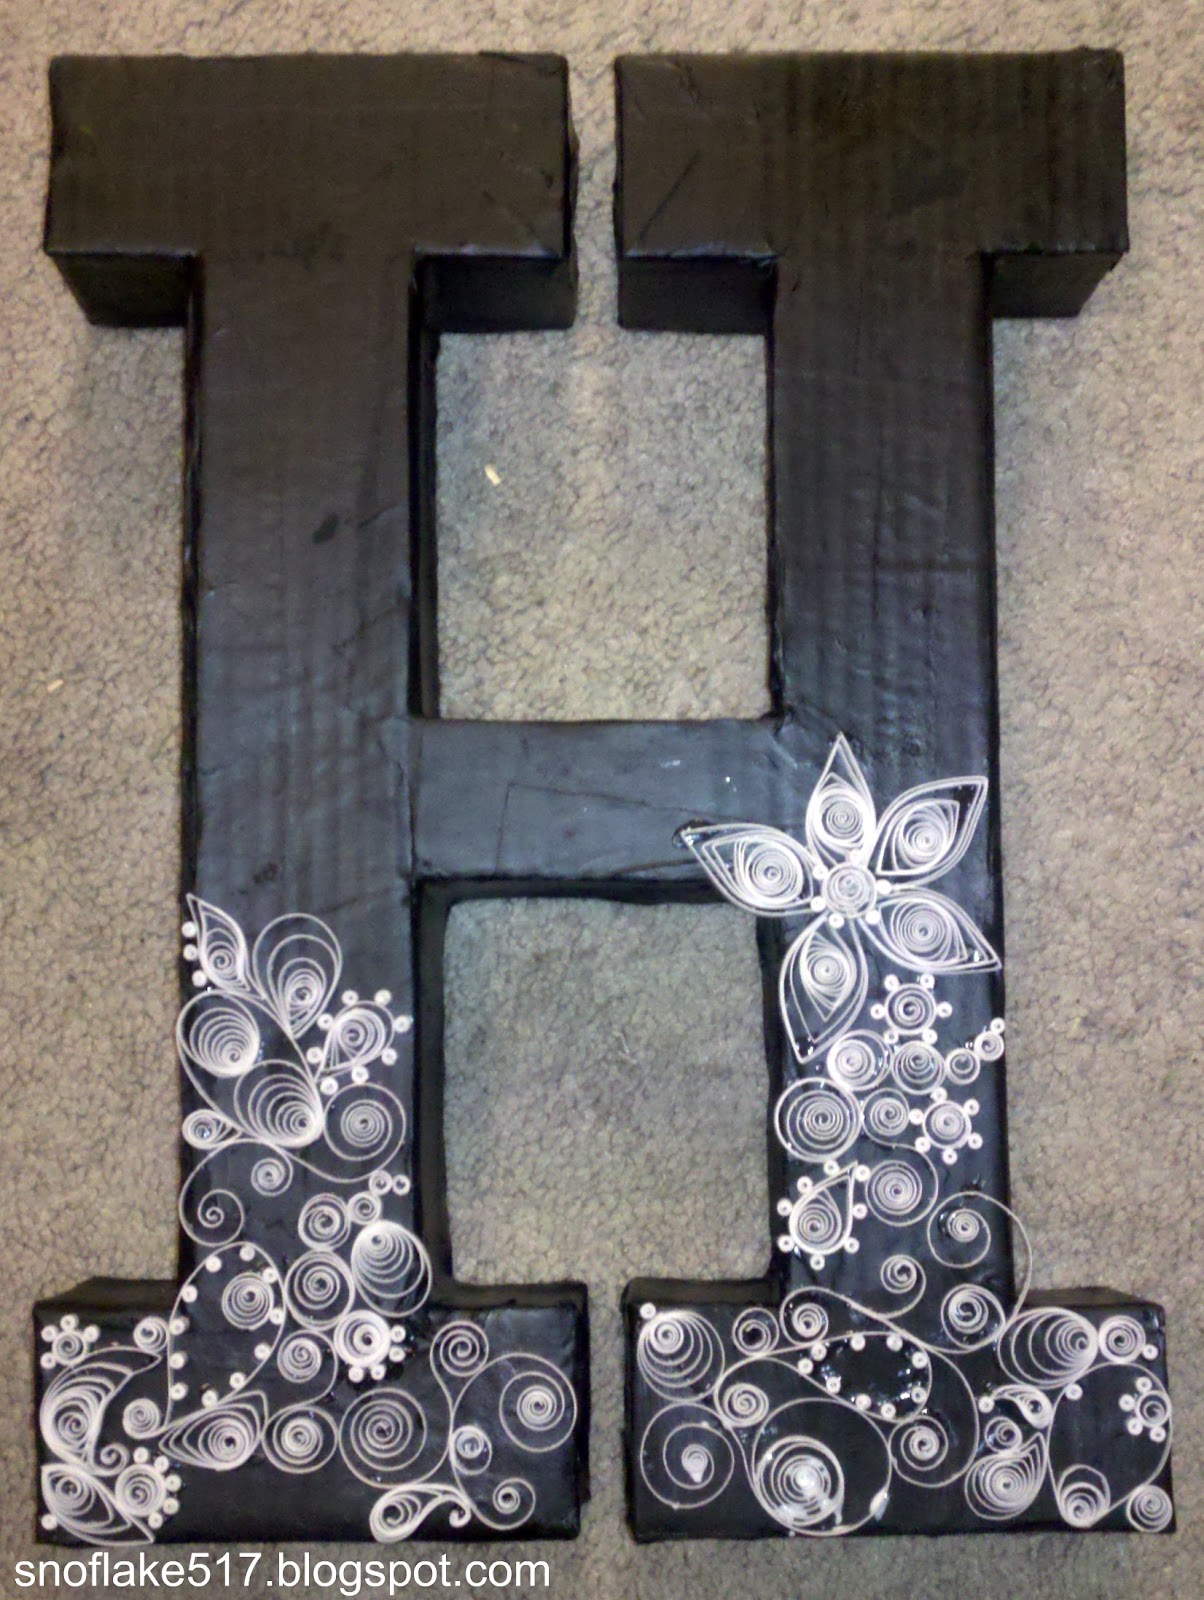  Since I didn't incorporate the Burgundy into the paint, I found some pretty ribbon in my stash and tied a little bow around one of the arms to get the color in it. All done!! |
Best part? Yeah, I didn't spend any money on it. Nada, Zilch, Nothing! Yahoo! Lest you think I am the cheapest person alive, I did also get her a nice little sumthin' sumthin' for her bridal shower. :) Her husband will thank me later! :D hehehe...
No comments:
Post a Comment
Note: Only a member of this blog may post a comment.