
Here is a brief Recap:
The table:


The Sander:

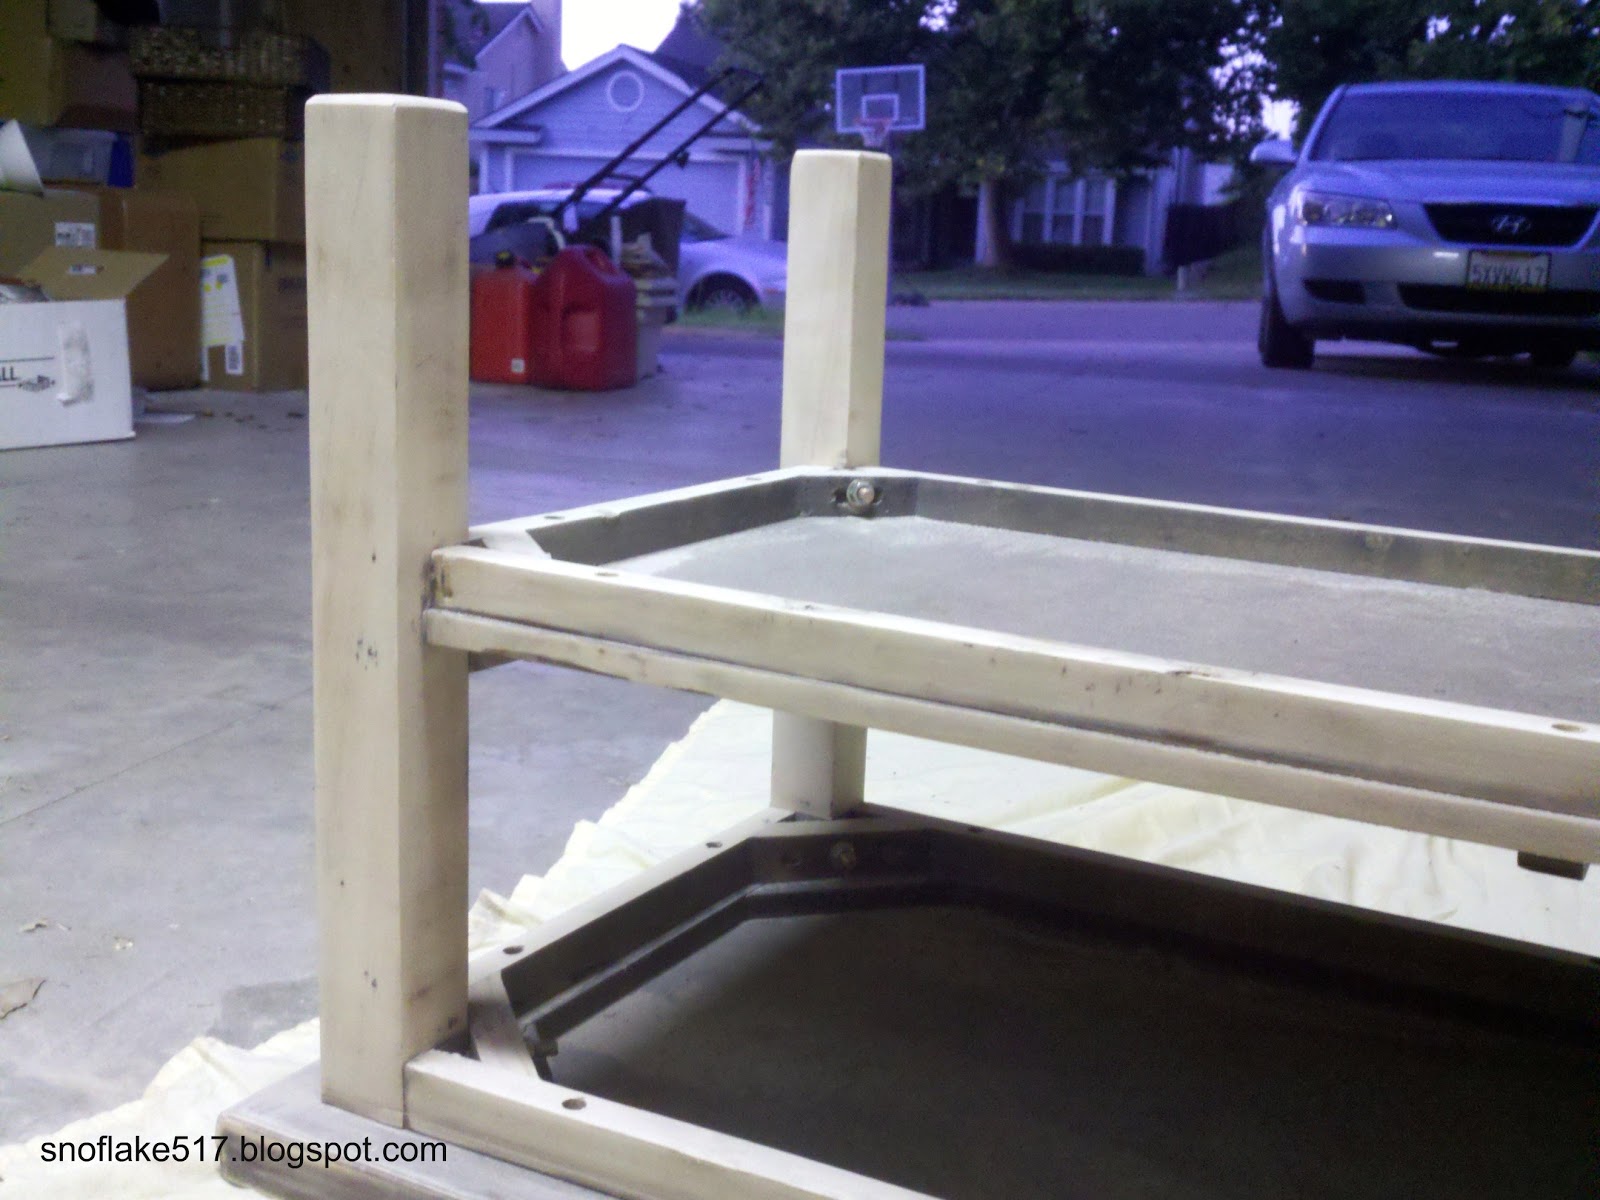
Another couple of before pictures of the legs:


I did give the table a quick wipe down and cleaned it. I did not take the table apart. I was worried I wouldn't be able to put it back together. Now that it is done, it would have been easier to do all the sanding and painting with the wood in pieces, but since I didn't think I could put it back together, it stayed together.
I picked up a couple of different white paint cards at the Home Depot and then my roommate and I decided that "Coastal Beige" by Behr was the right shade of white to go with the livingroom.
I got the paint and some safety goggles and a face mask so I didn't die of an asthma attack.
So then, after reading the user manual (which I normally don't do, but since it was a power tool, I thought it *might* be a good idea), I started sanding, with the grain. I started on the inside of the legs because I wanted to "practice" sanding before I started on the pretty top.


Making Safety Sexy. And you can't tell but I'm wiggling my eyebrows at the camera. Oh baby, oh baby.

Looking better already!

So everything had gone really well so far. I started sanding the top and it was pretty easy. Then, because nothing in life is ever easy, when I had only about 1/4 of the top left to be sanded, my sander stopped working! The spinny part wouldn't spin the sand paper part (I love using techincal names for thingys). So I finished tsanding he last of the table by hand.

So purdy! I was really tempted to keep the table the natural color. I loved it and I loved how the lines in the wood on top were still visible. In the end, I decided to paint, but I loved the natural color.

I put a couple of coats on the table of the Coastal Beige. It came out a bit brighter and whiter that I had anticipated. I still loved it though. While we had been at Home Depot, waiting for the paint, Christiana and I wandered through the kitchen department dreaming. I showed her some cabinets that had some cool distressing that I really liked, but didn't know how to do. Christiana then said she knew how to do it and told me! Brilliant!

For the distressing, I took paint and a small paintbrush and painted into all the edges. Then took a wet paper towel and "dragged" the paint down the edge, allowing the dampness to dilute the color. Almost like a wash. I used a Camel color acrylic on my table. I loved that it gave the paint another dimension.


So there you have it, my table. I think I am going to get a clear paint/varnish/polyurathene something-or-other to seal the paint so it isn't damaged by water and such.
Great thing is the cost break down:
Table: $15 at Goodwill
Sander: $0 because I was able to return it to home depot after it broke
White Paint: $6 (2 sample size jars at $2.94 each)
Large brush: $1
Camel Paint: On hand
Small paint brush: On hand
$22! Much, much better than the $40 one I planned to get at IKEA. Wahoo!
woohoo! i love up-cycled and thrifted items! you did so great! and saved almost half the money you would have spent! love it.
ReplyDeletei would love for you to come link up this or any other amazing project at my creativity party going on right now!
letbirdzfly.blogspot.com
thanks so much for sharing!